
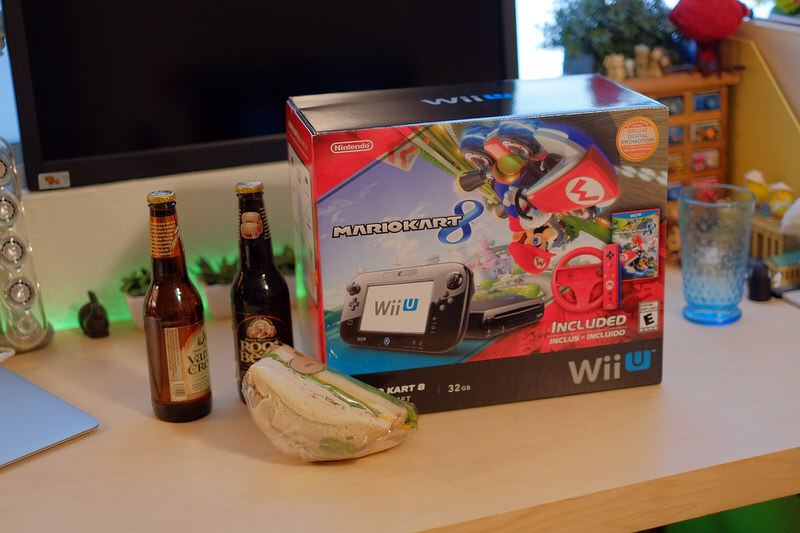
Yes, it's EVEN MORE CAT PICTURES.


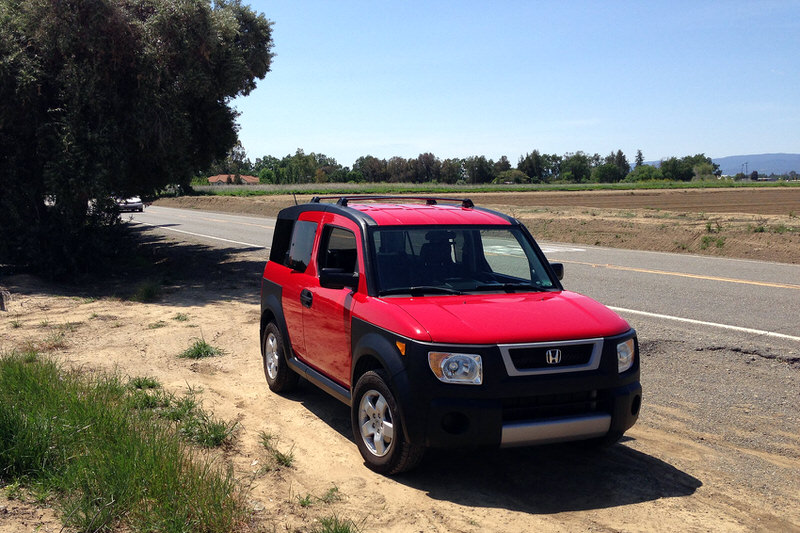

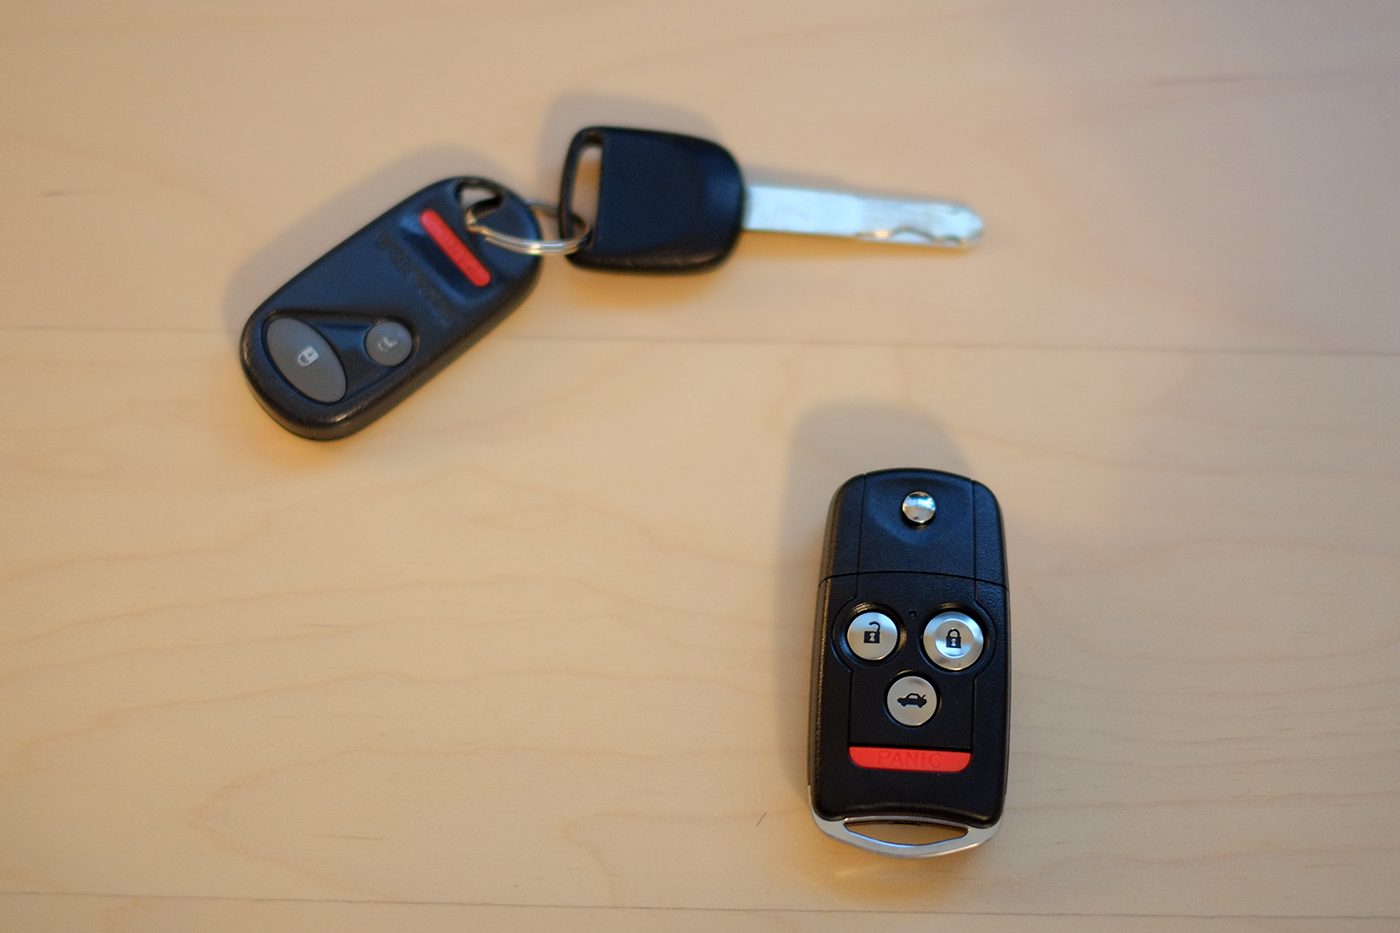
I love my Element, but one thing I don't like is the separate remote and key setup that is identical to that found on the '97 Civic that one of my exes owned. It takes up a lot of pocket space, and it whacks my knee while I'm driving. So I figured, there had to be a way to get a slightly more modern key with OEM parts -- no eBay crap. I figured out this procedure using a few helpful forum threads, but thought I'd write it up here because searching forums is a task that should be reserved only for the hated Fnord, not civilized man.
So, what you need is an '07-'08 Acura TL flip key (35111-SEP-306 - $60), an Acura RDX remote faceplate (35118-STK-A01 - $10), a spare original key for your car, and an '04-'11 Element. '03s use a different system. You can use a $30 Honda Ridgeline key to save some part costs -- it's not a flip key, but it does have the keys and button in one unit so it has many of the same benefits. I'll also note that if you have an '07+ Element I believe you can skip all the transponder pill stuff (although I can't confirm that one way or another). Mine's an '05 so I couldn't.
There's the beginning. The first step is to cut open the old, donor key. The easiest way is to run a Dremel around the edge of the plastic and peel the halves apart. You're after the transponder pill, which is in a white plastic housing. This is what the car's immobilizer talks to.


The pill is easy to pull out. Do so and set it aside.
The next step is to replace the TL key's "pill" (more of a "rectangle thing") with your original one. Unscrew the Philips-head on the bottom (the only visible screw) and pull the faceplate unit. Set it aside -- we'll come back to it.


Once that's done, pull the cover around the key flip button off. It's held on by two clips and an adhesive. The clips aren't very fragile, but be careful of scratching the part of the housing you're using for leverage as the plastic is a bit soft. After that, you can see a cover with three Philips screws. Undo those, but be careful -- there's a clock spring pushing off that cover, see? So release the tension gently, and remember how it goes in.


Now, take out the key unit, and flip it over. There's a little plastic cover; pry it open from the inside, and the immobilizer chip thingy is visible. It's tough to get out; my solution was to use a very thin bit and drill it out from the other side. Then you've got both of them out. The job now is to get the pill from your old key in the space previously occupied by the new key's transponder. I widened the hole using a very small file, but you could use your Dremel. Put a bit of epoxy or glue in there to make sure it stays put.
The next step is optional, although I found it necessary because the TL key looks way too much like a face. It's got that trunk release button, right? And that's useless with the Element. So, get your RDX faceplate out.
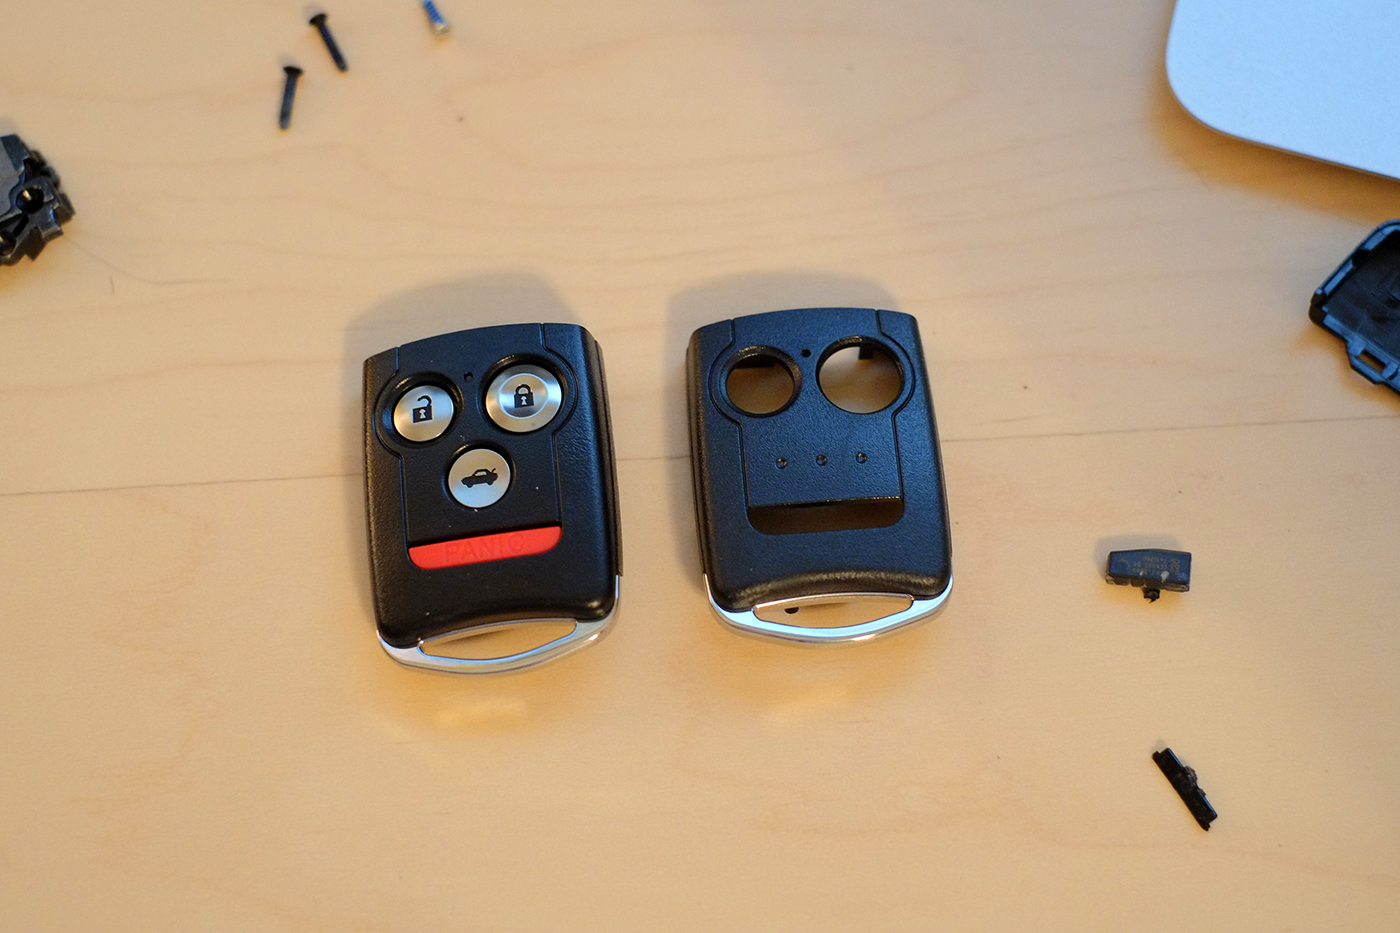
This will be pretty self-explanatory. Pry the TL remote unit open from the back; the front part that carries the buttons and electronics will separate from the back, which carries the battery. Then, pry the front "button carrier" unit open; you can see that it's held together by four clips -- note its rubber weather-sealing. The two halves will separate, and if you're like me the buttons will fly everywhere. Go find them.


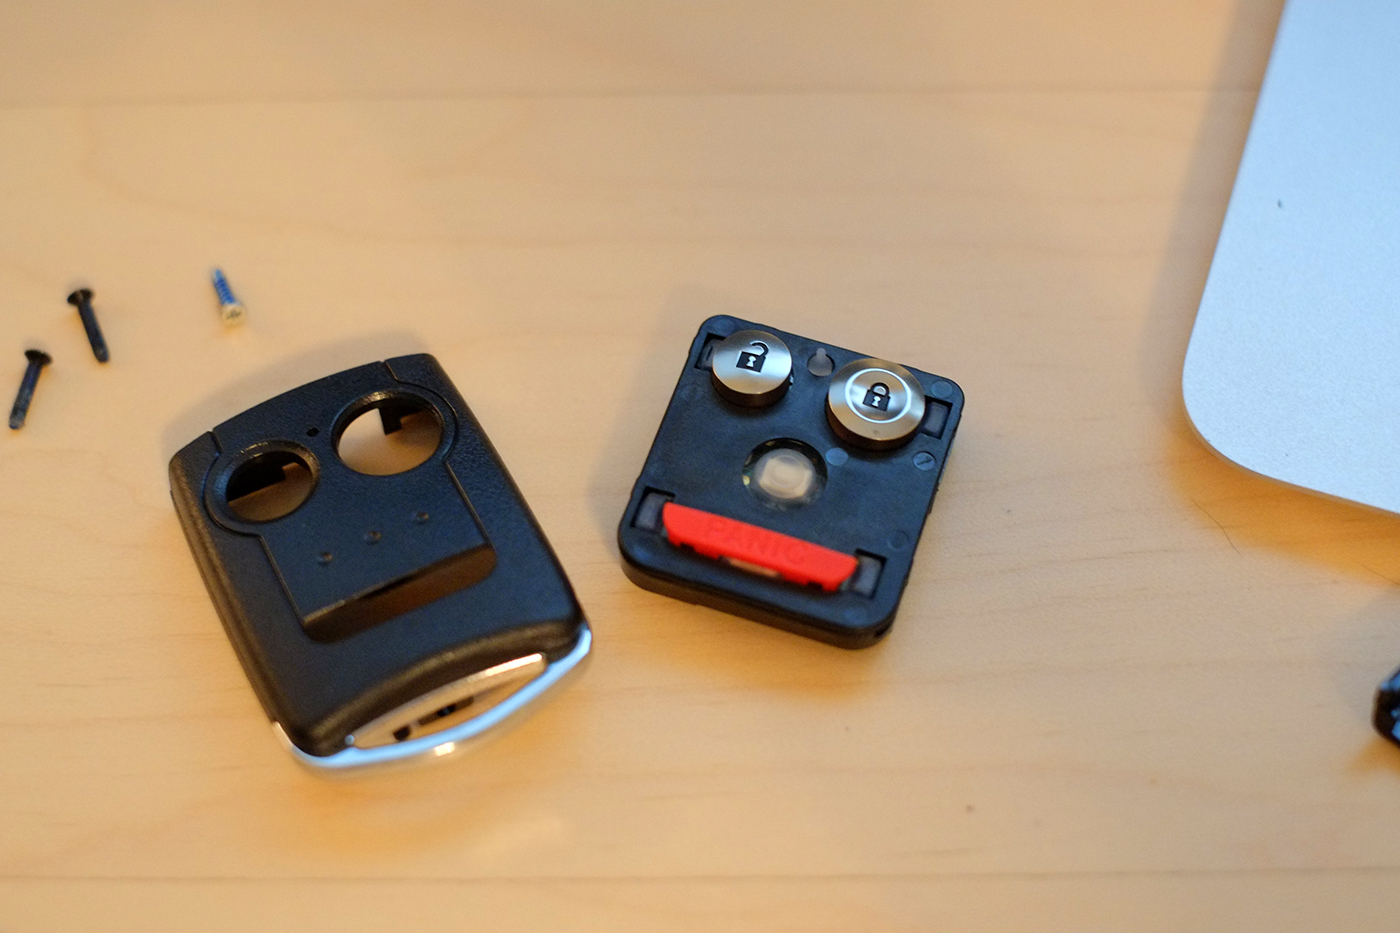

When you get it back, the "unlock" button will probably not work even when the key is paired to the car. That's okay -- just press both the "lock" and "unlock" buttons at once, to set the key's memory function (which the Element can't use, of course). Then the button works just fine.